Flash animations, banners, and intro SWFs often rely on precise frame timing. Ray SWF to Video Converter lets you keep FPS Original and optionally trim with a frame range on the Advanced tab before exporting MP4.
Note: Ray SWF to Video Converter is for Flash .swf files only.
Ray Video Converter does not open SWF — use this product for Flash content.
Steps
Step 1. Click Add Files and load your animation, banner, or intro SWF. Check FRAMES and FPS in the File List.
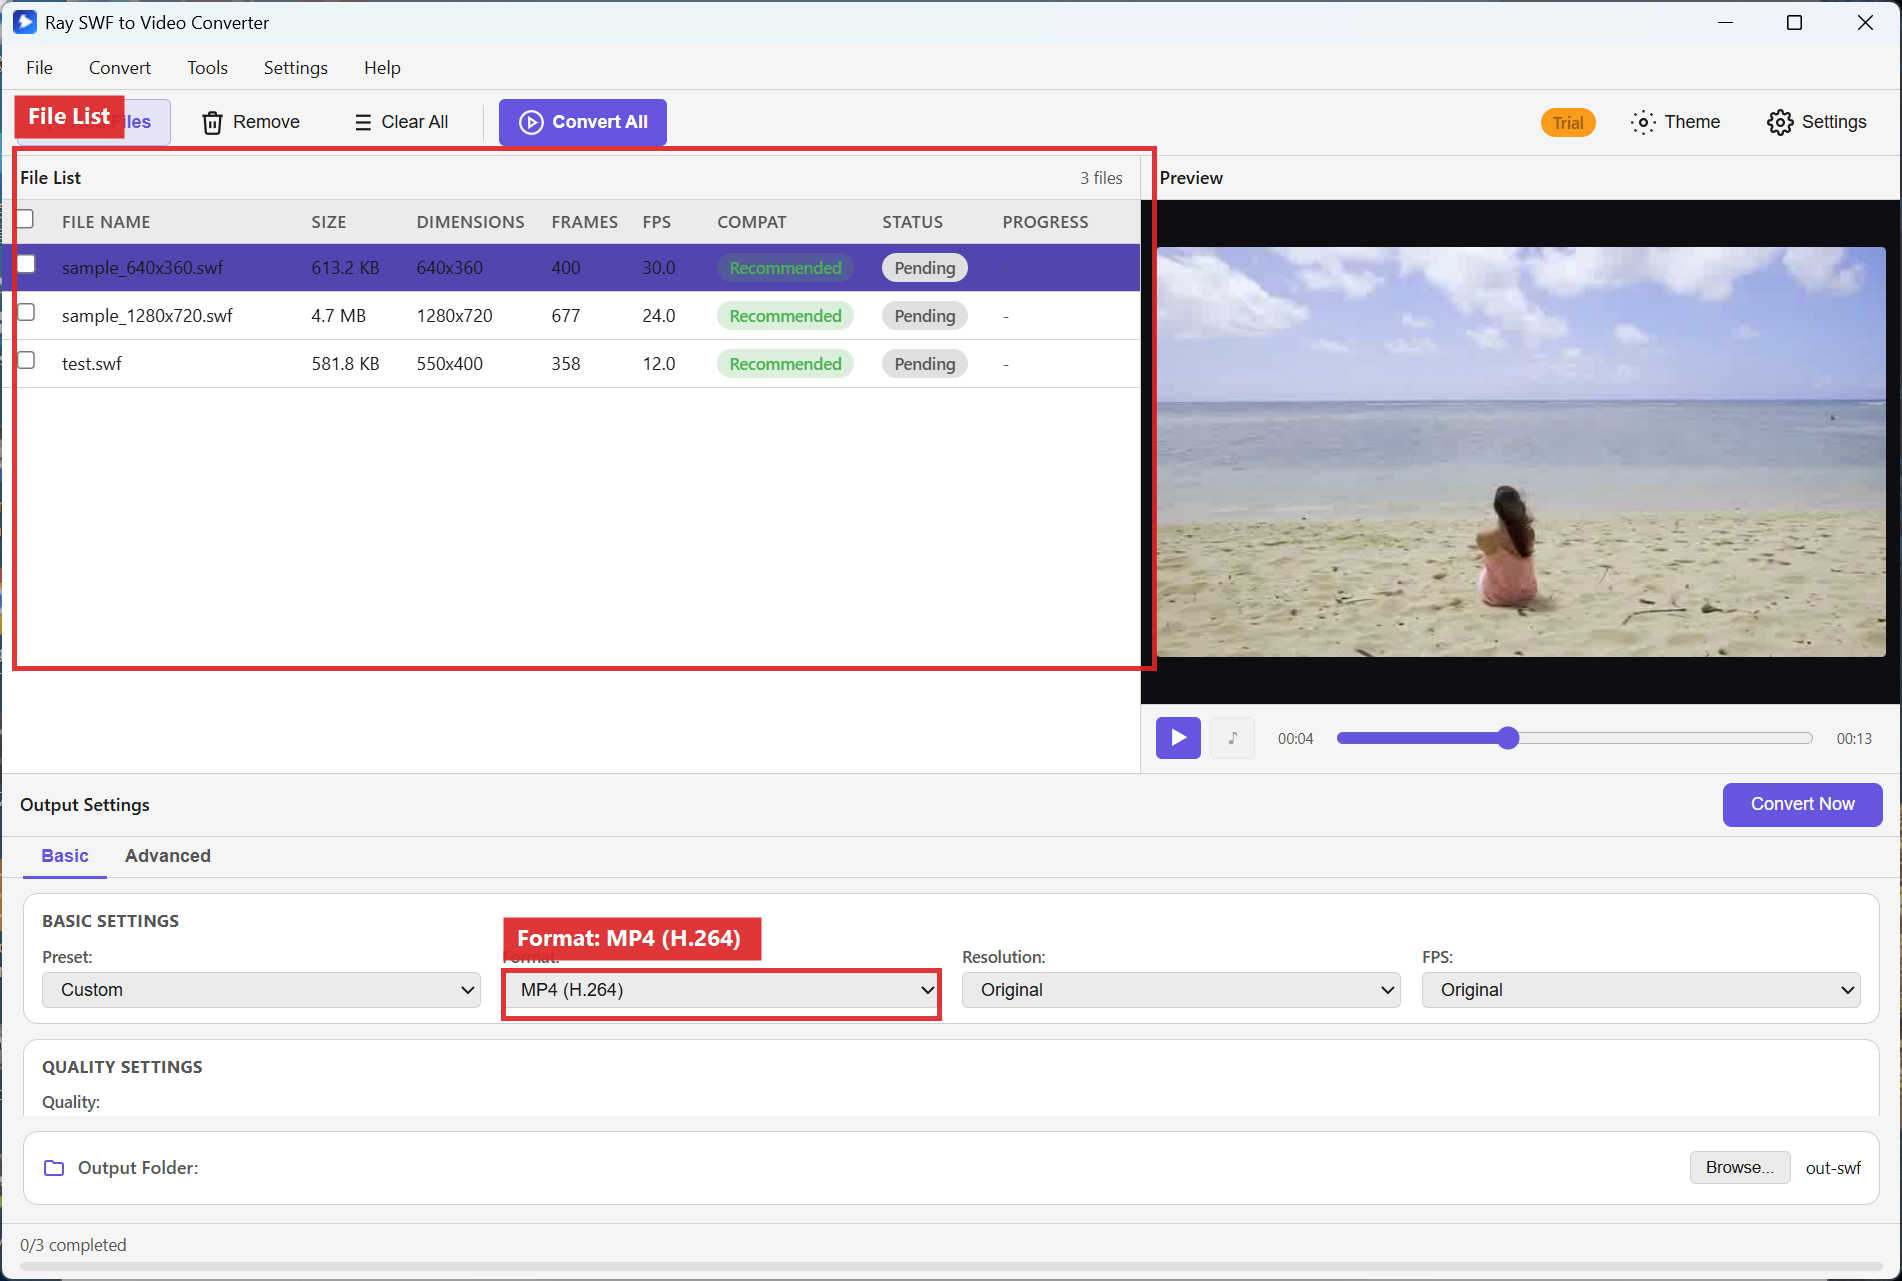
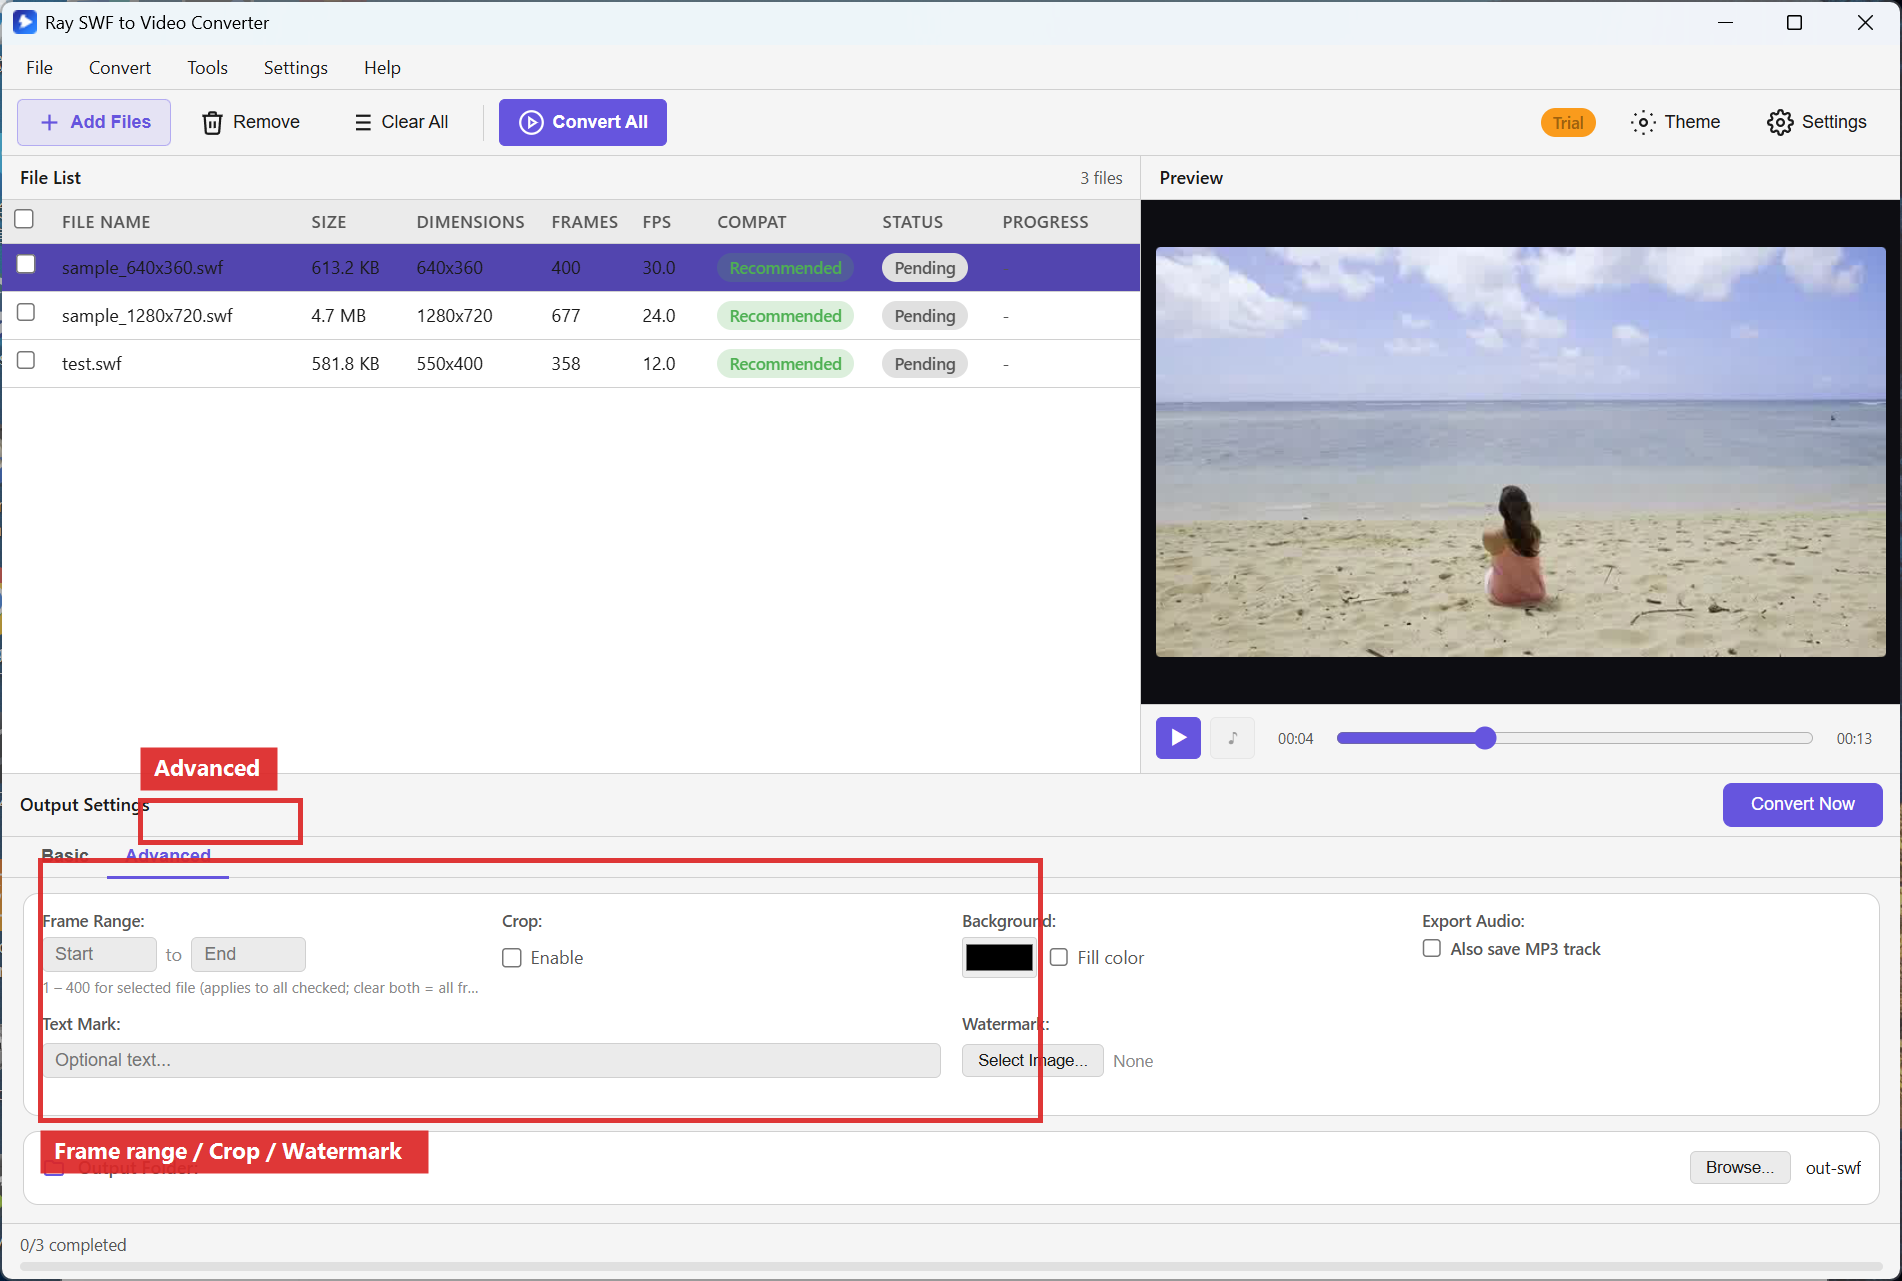
Step 2. On Basic, set Format to MP4 (H.264) and FPS to Original. Switch to Advanced to set a frame range if you only need part of the timeline, or enable Crop Enable / background fill for banner stages.
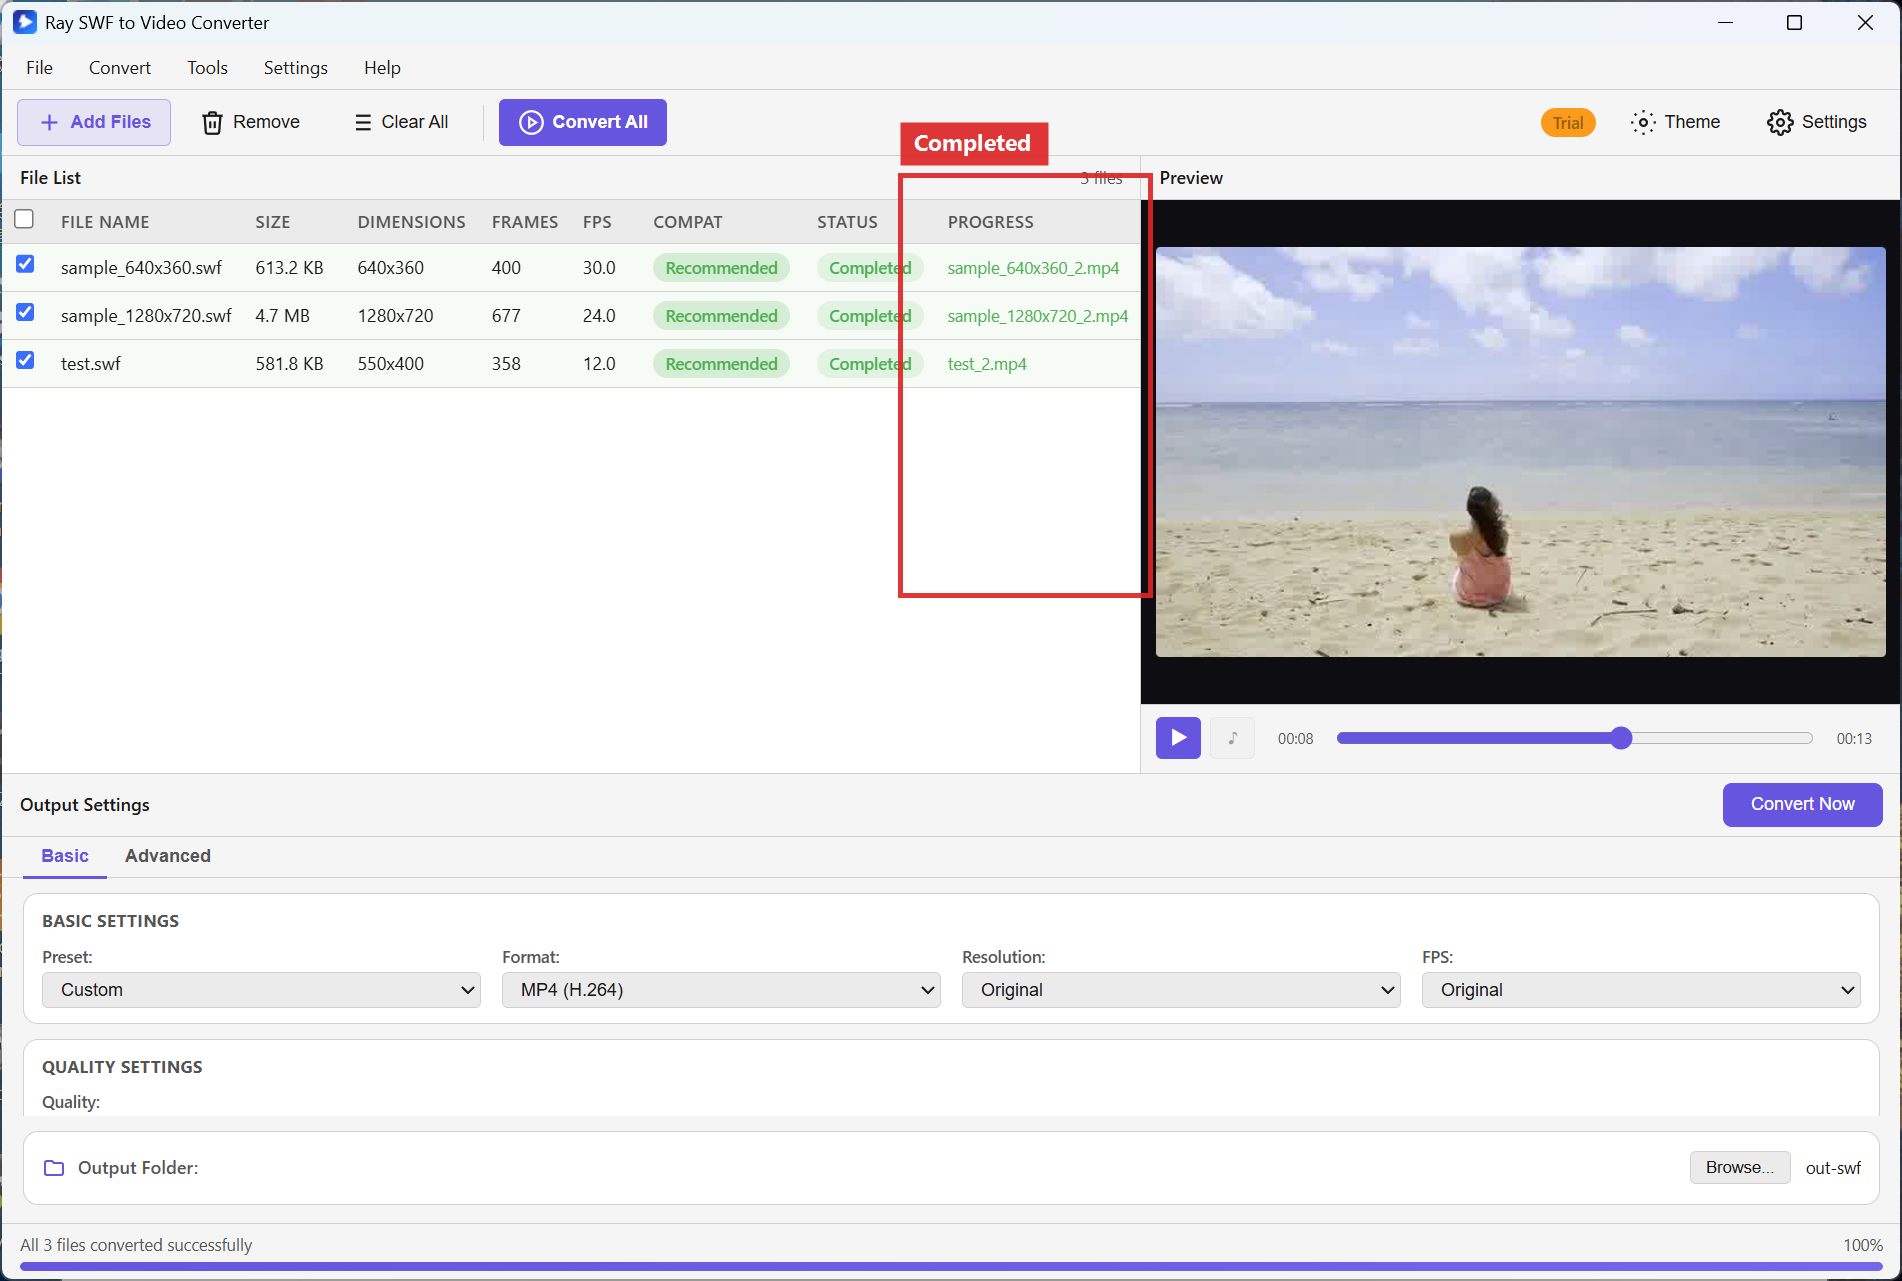
Step 3. Set Output Folder, click Convert All, and wait for Completed.
Recommended settings
- FPS: Original for banners and character animation; use 24/25/30 only when a delivery spec requires it.
- Resolution: Original for pixel-accurate stages; 1920x1080 when the host page needs HD.
- Advanced: Frame range to drop pre-roll or looping tails; Text Mark / Watermark for review copies.
FAQ
Will changing FPS stretch the animation?
Picking a fixed FPS can change how the motion feels. Prefer Original unless a platform demands a constant rate.
Can I export frames instead of MP4?
Yes. Choose a PNG/BMP/JPG/TIFF sequence in Format when you need frame-by-frame edits.
Do interactive AS3 buttons still work in the MP4?
No. Conversion records the visual (and audio) timeline as video; clickable Flash logic does not carry over.
Try Ray SWF to Video Converter
Download the free Windows trial, then follow the steps above on your own Flash archives.
Free download Product page All tutorials SWF tutorial hub