When a Flash stage is small, you may still need a 1080p or 720p deliverable for a site or LMS. Ray SWF to Video Converter can export at 1920x1080 or 1280x720 with a higher Quality setting — remember that upscaling cannot invent detail that was never in the SWF.
Note: Ray SWF to Video Converter is for Flash .swf files only.
Ray Video Converter does not open SWF — use this product for Flash content.
Steps
Step 1. Add your SWF files. Note the native DIMENSIONS column so you know whether you are preserving or upscaling.
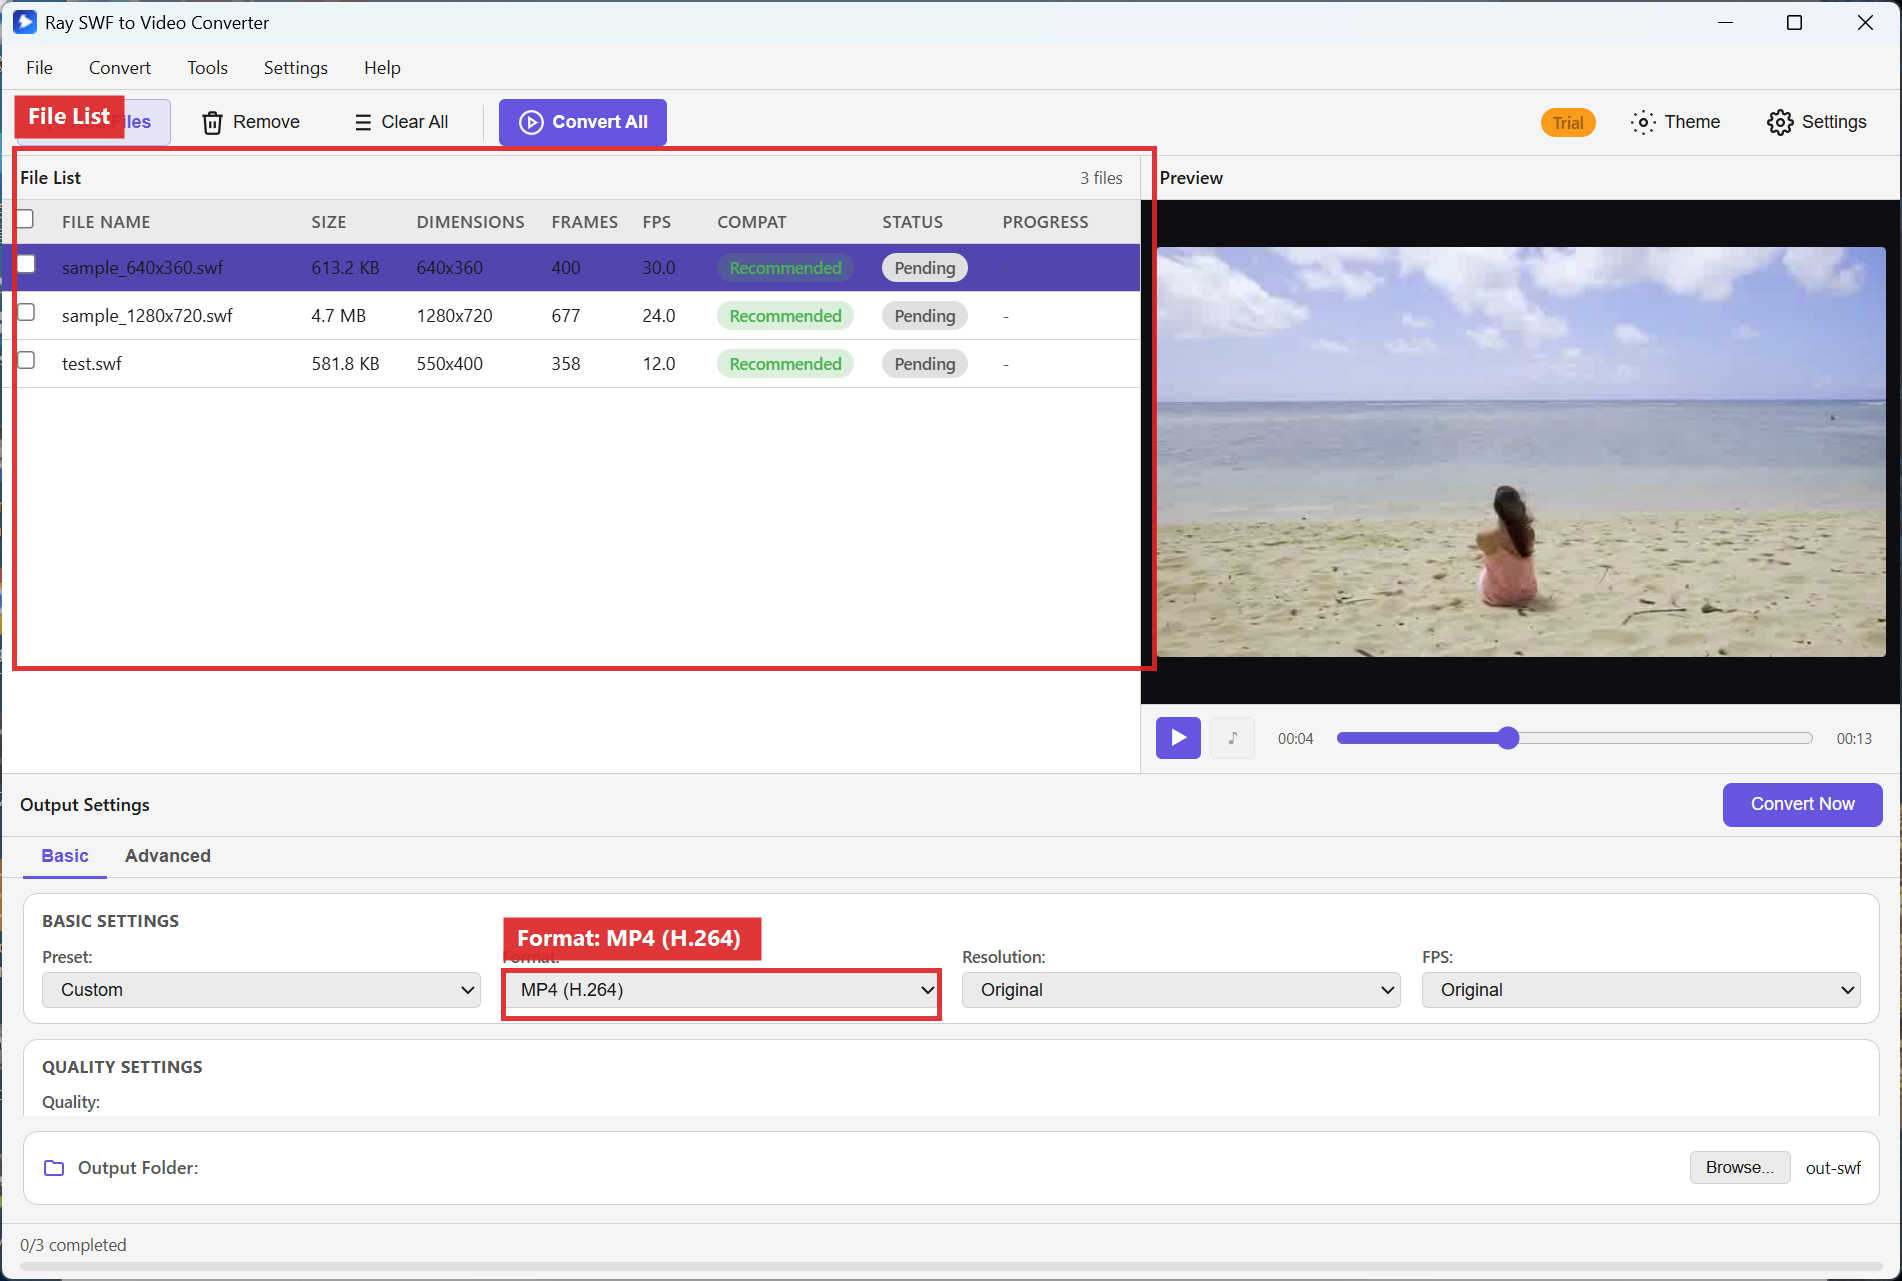
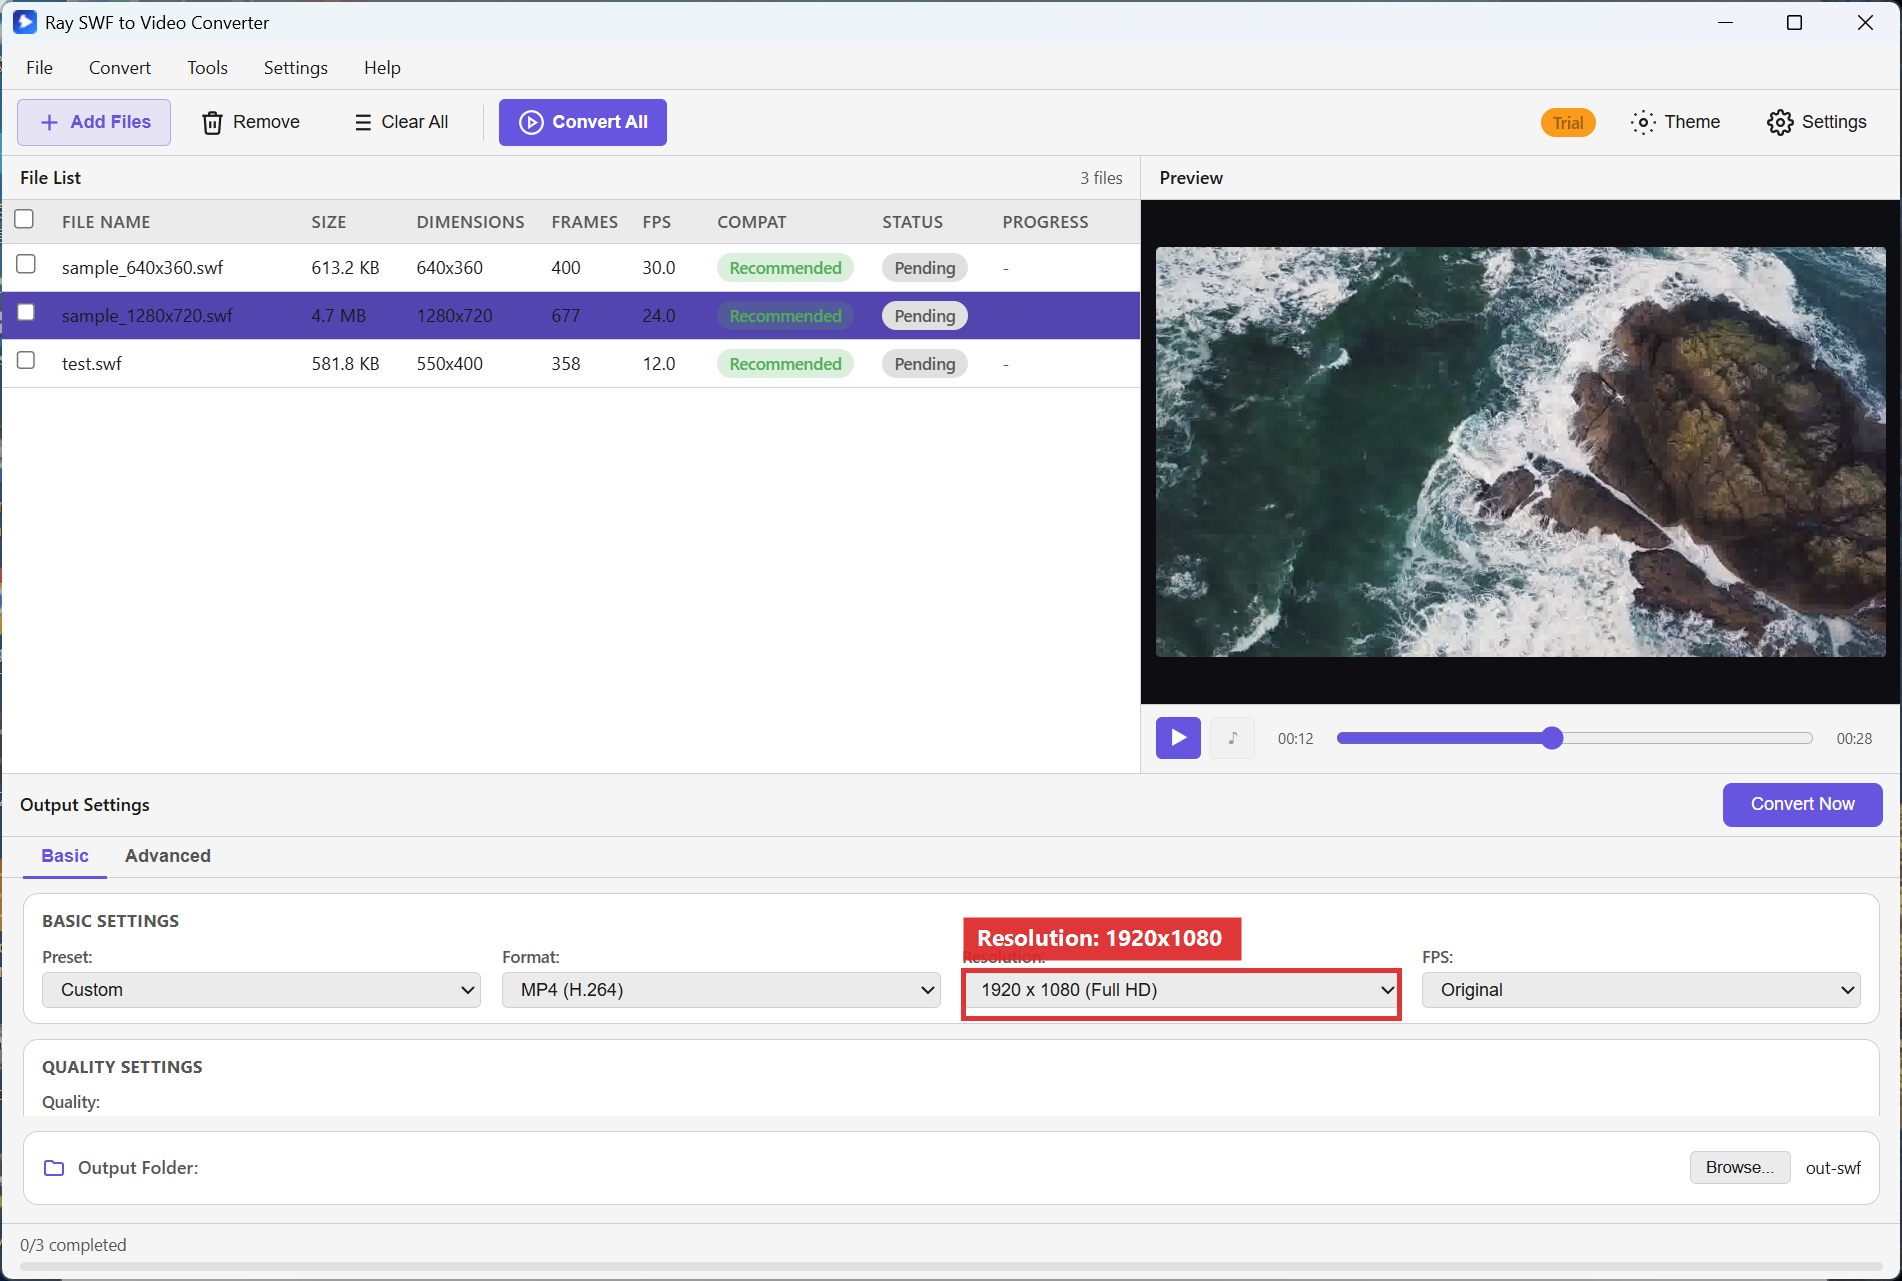
Step 2. In Output Settings, set Format to MP4 (H.264) and Resolution to 1920x1080 for full HD.
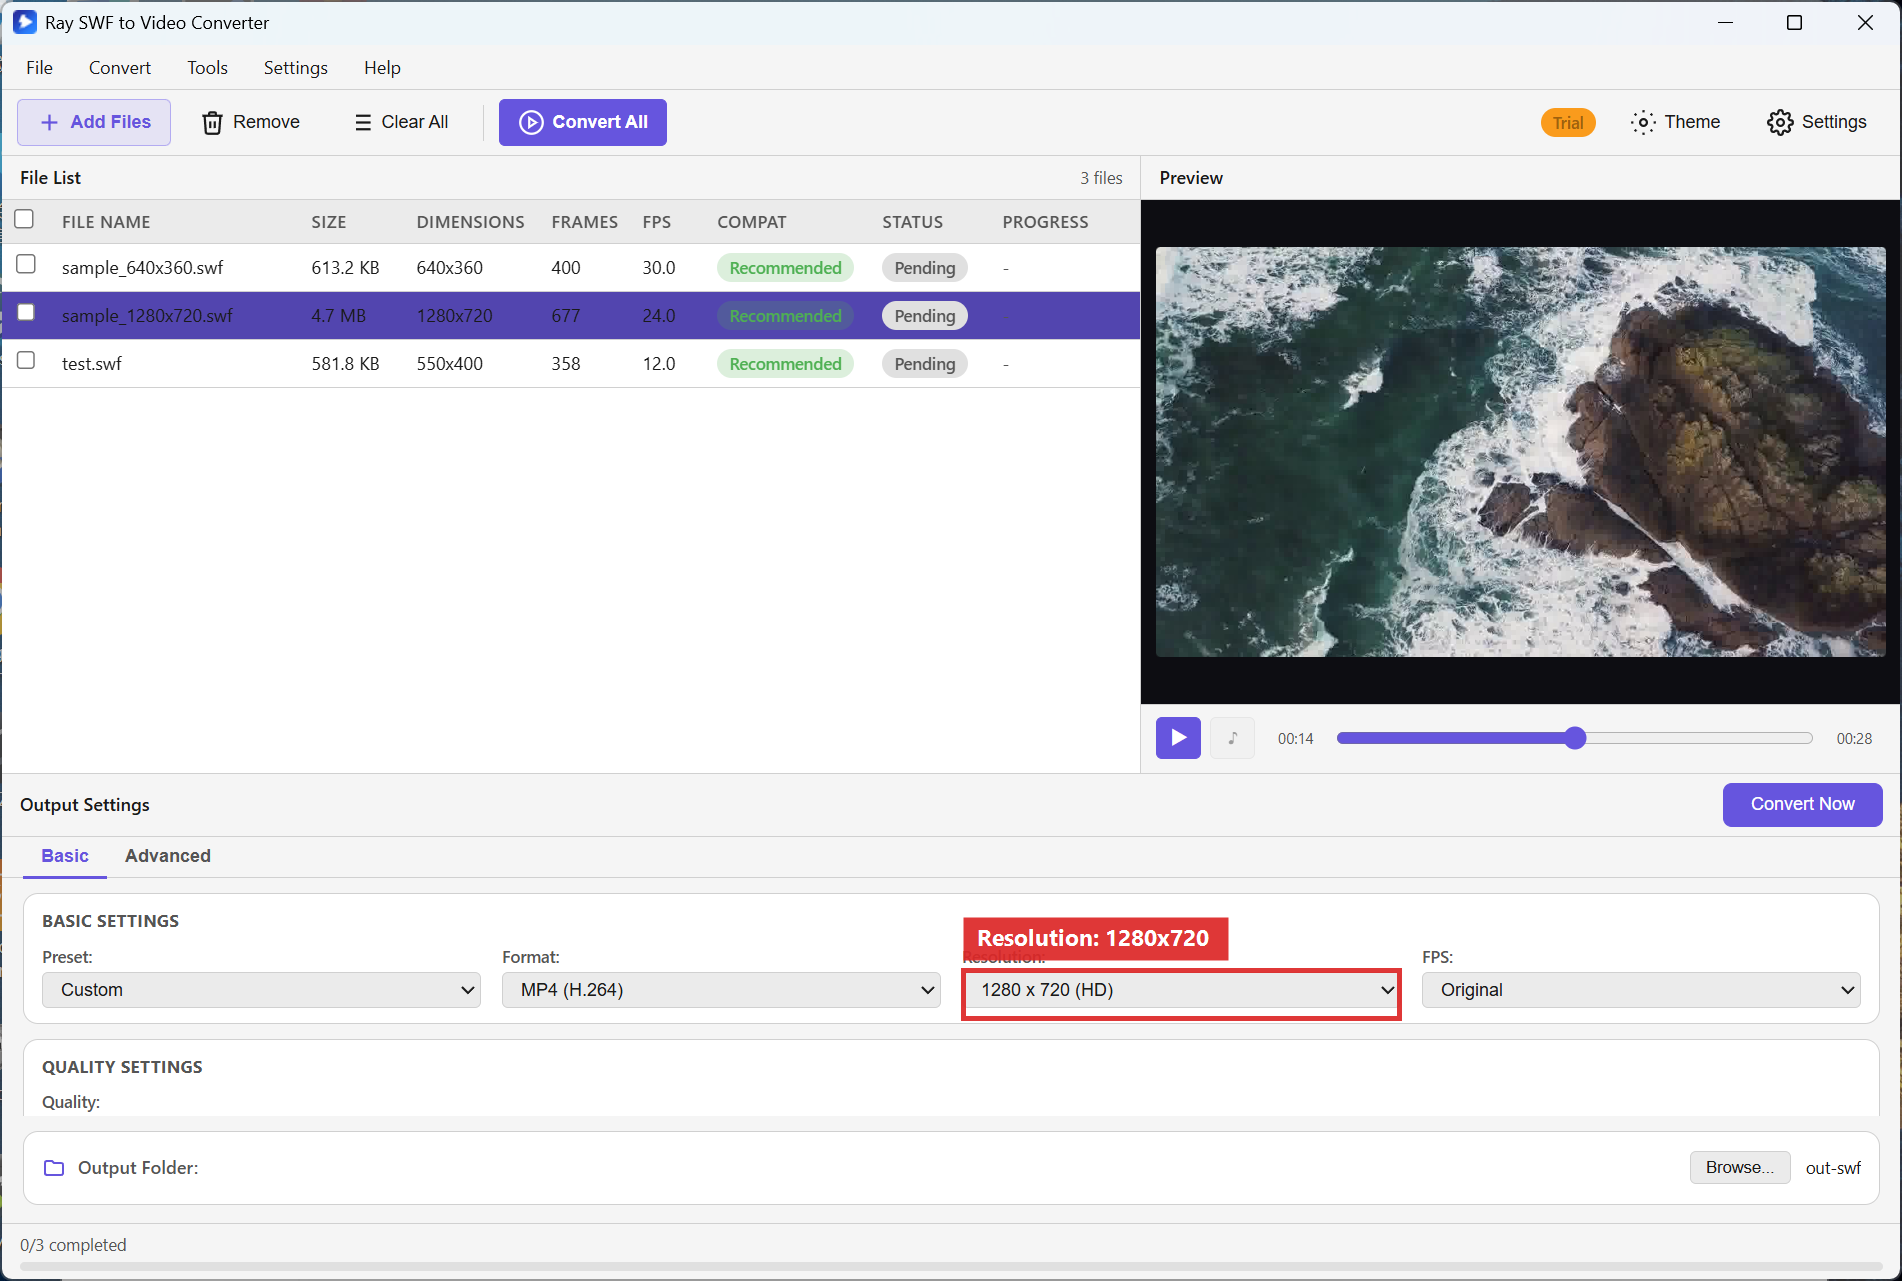
Step 3. For lighter files or 720p players, choose 1280x720 instead. Raise the Quality slider (around 85%) when clarity matters more than size.
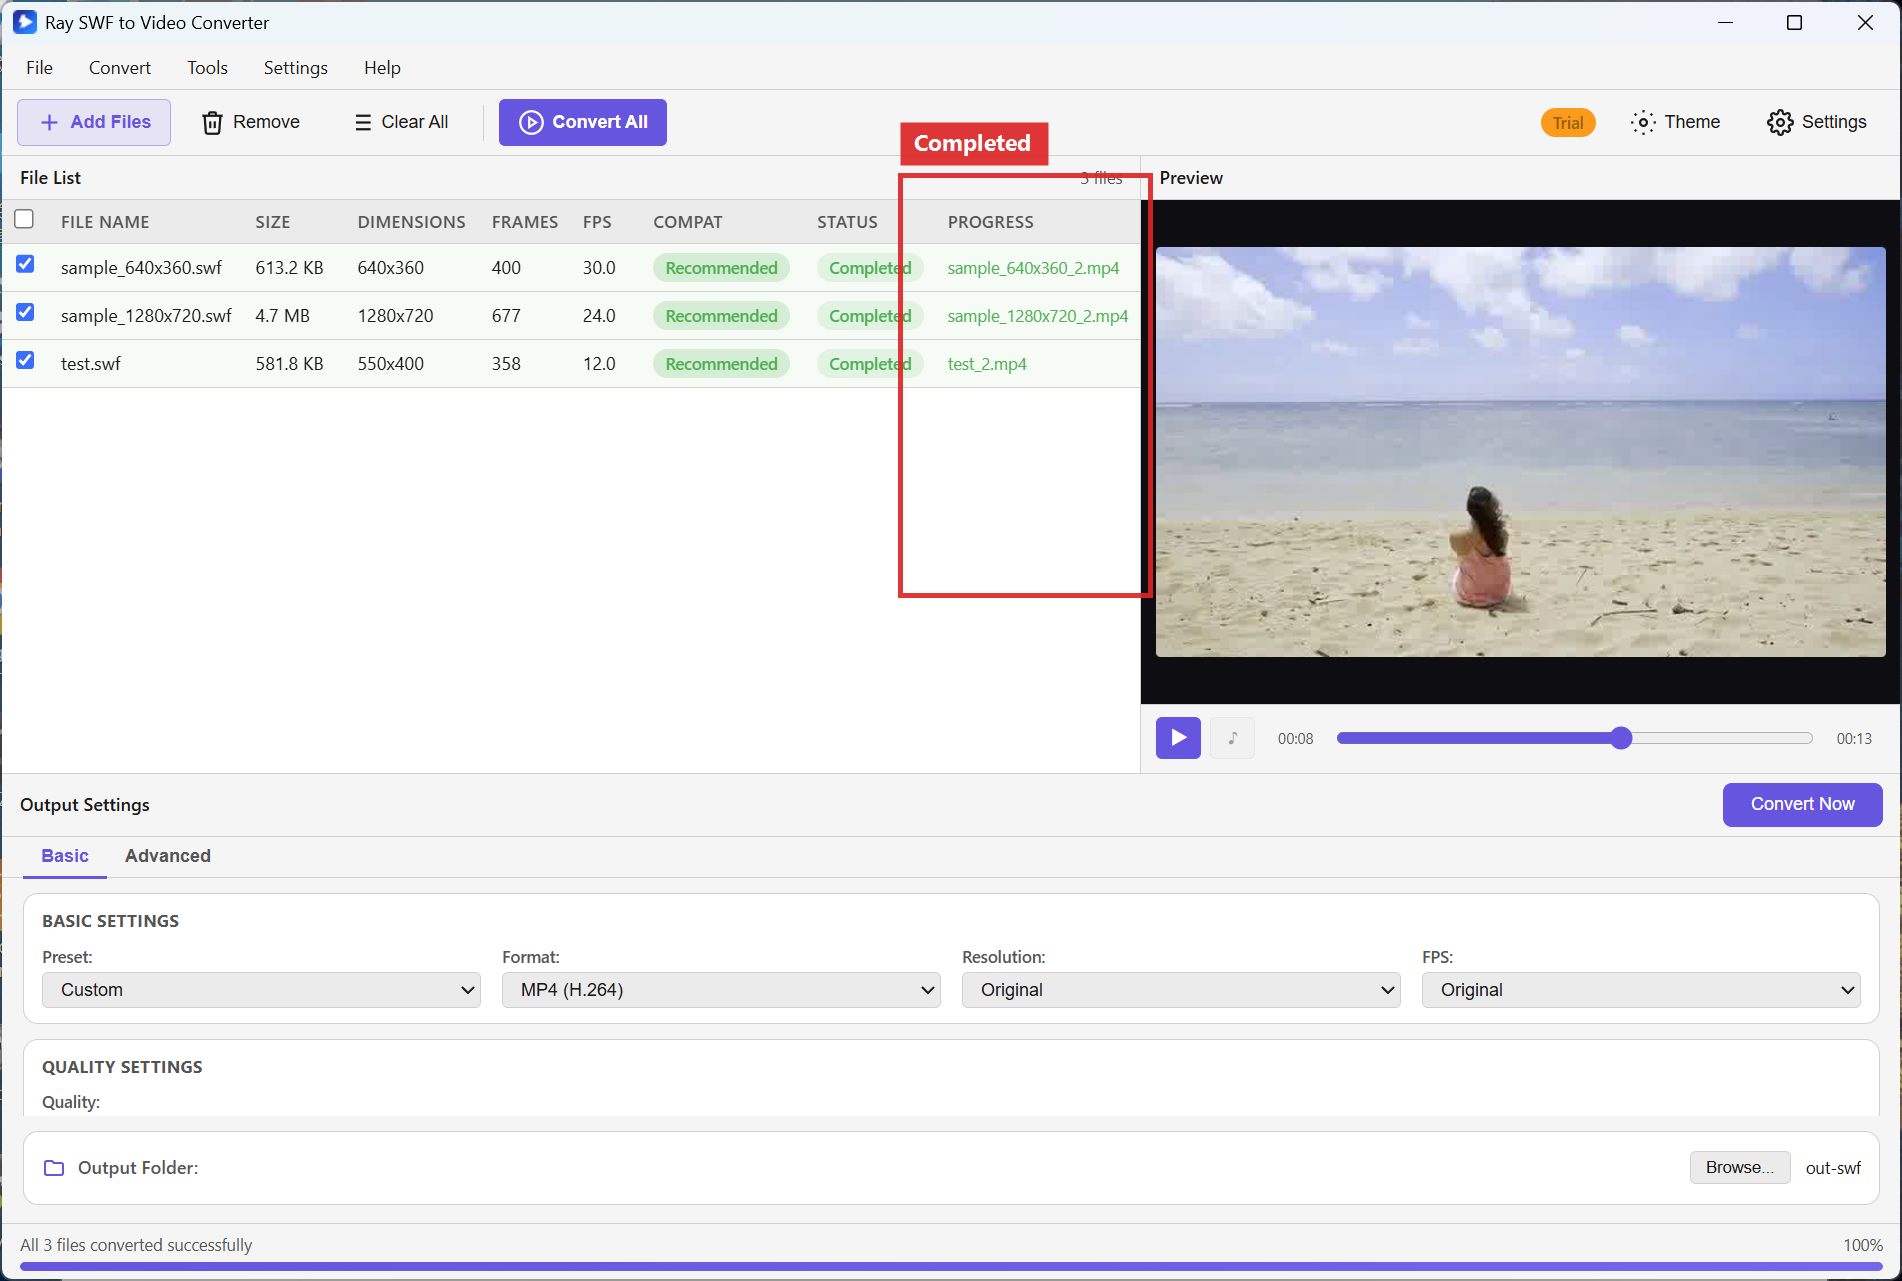
Step 4. Click Convert All. When rows show Completed, review the MP4 on a large display.
Recommended settings
- Prefer Original when the SWF is already sharp at its native size.
- 1920x1080 for full-HD pages; 1280x720 for smaller uploads.
- Quality ~85% for HD delivers; drop lower only when you must shrink the file.
- Other presets: 7680x4320, 3840x2160, 2560x1440, 854x480, 640x360, or custom — upscaling limits still apply.
FAQ
Will 1080p make a tiny banner look sharp?
Upscaling enlarges pixels; it does not restore missing artwork. Start from the highest-quality SWF you have.
Should I pick 4K for every file?
Only when the destination needs it. Large resolutions create big files and do not improve low-res Flash art.
Can I set a custom width and height?
Yes. Choose the custom resolution option in Output Settings when presets do not match your layout.
Try Ray SWF to Video Converter
Download the free Windows trial, then follow the steps above on your own Flash archives.
Free download Product page All tutorials SWF tutorial hub