Deep Scan in RayRecovery looks for readable files, Recycle Bin items, and permanently deleted files (NTFS metadata recovery). It goes deeper than Quick Scan; privileged disk access is handled by RayRecovery Service after install — you do not need to run the UI as Administrator. Follow the steps below.
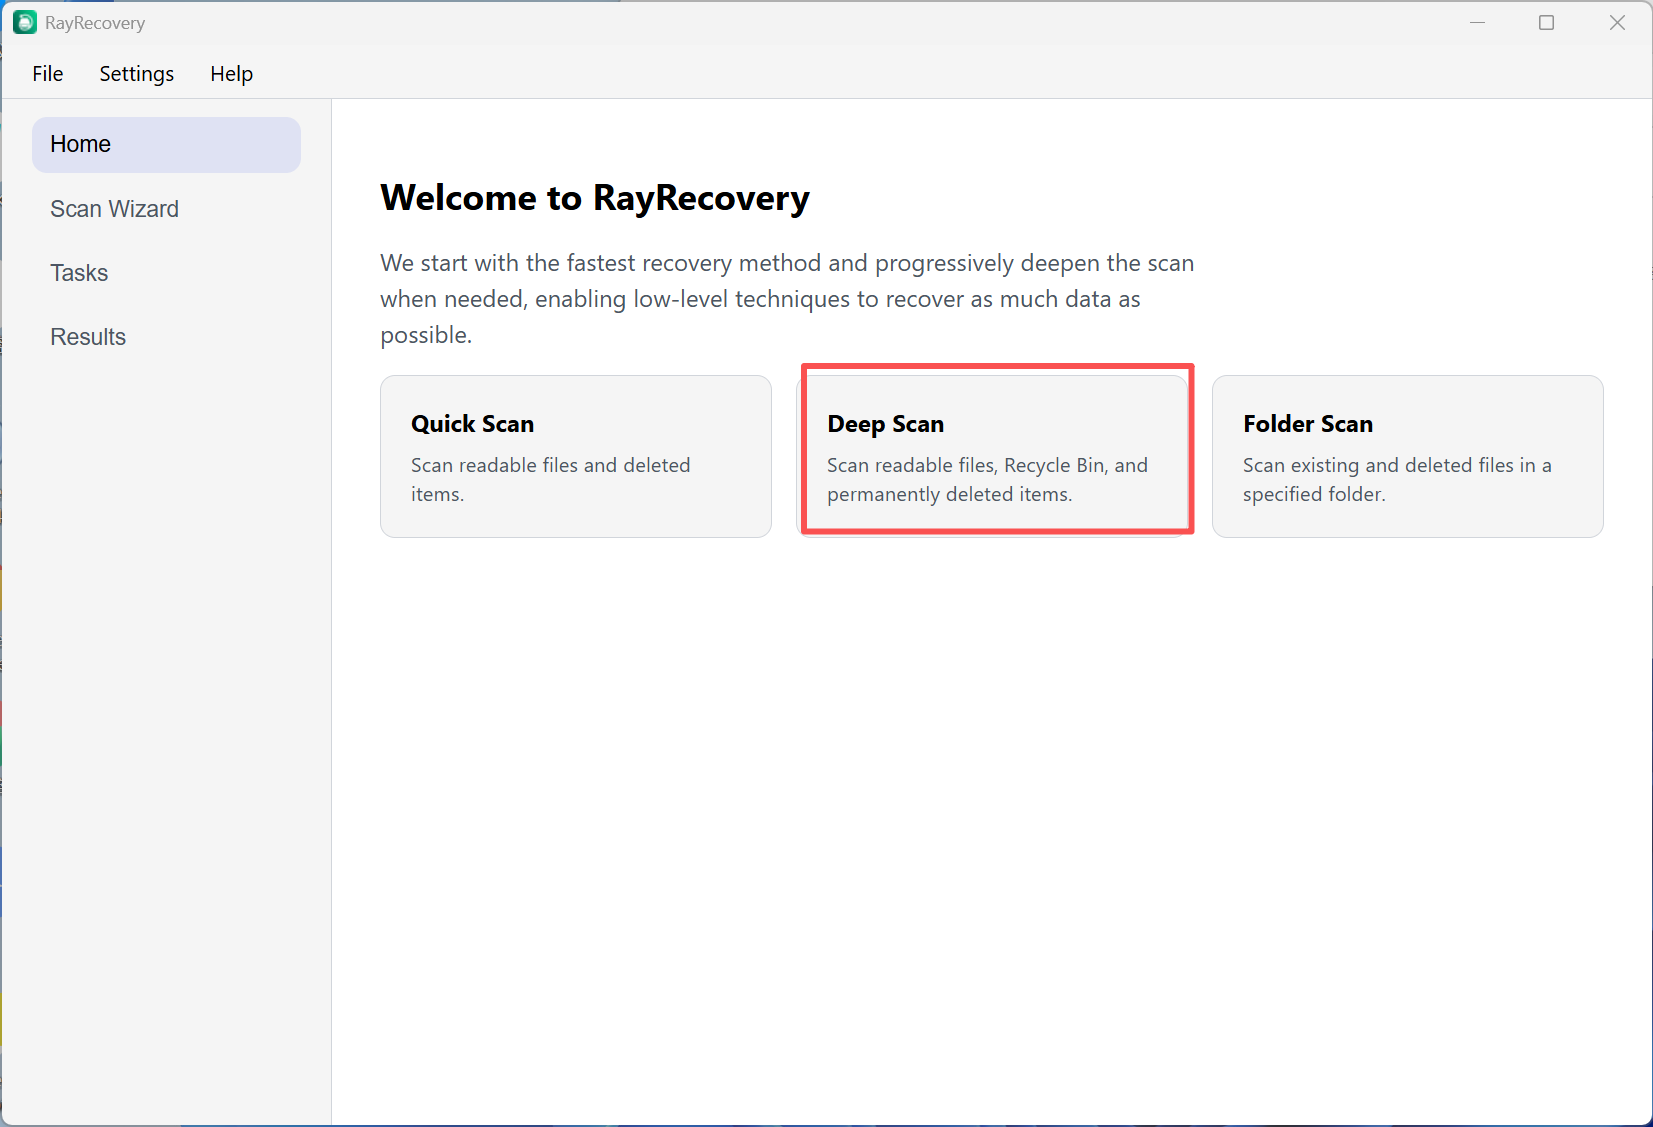
Step 1: Launch RayRecovery and stay on Home. Click the Deep Scan card (“Scan readable files, Recycle Bin, and permanently deleted items”).
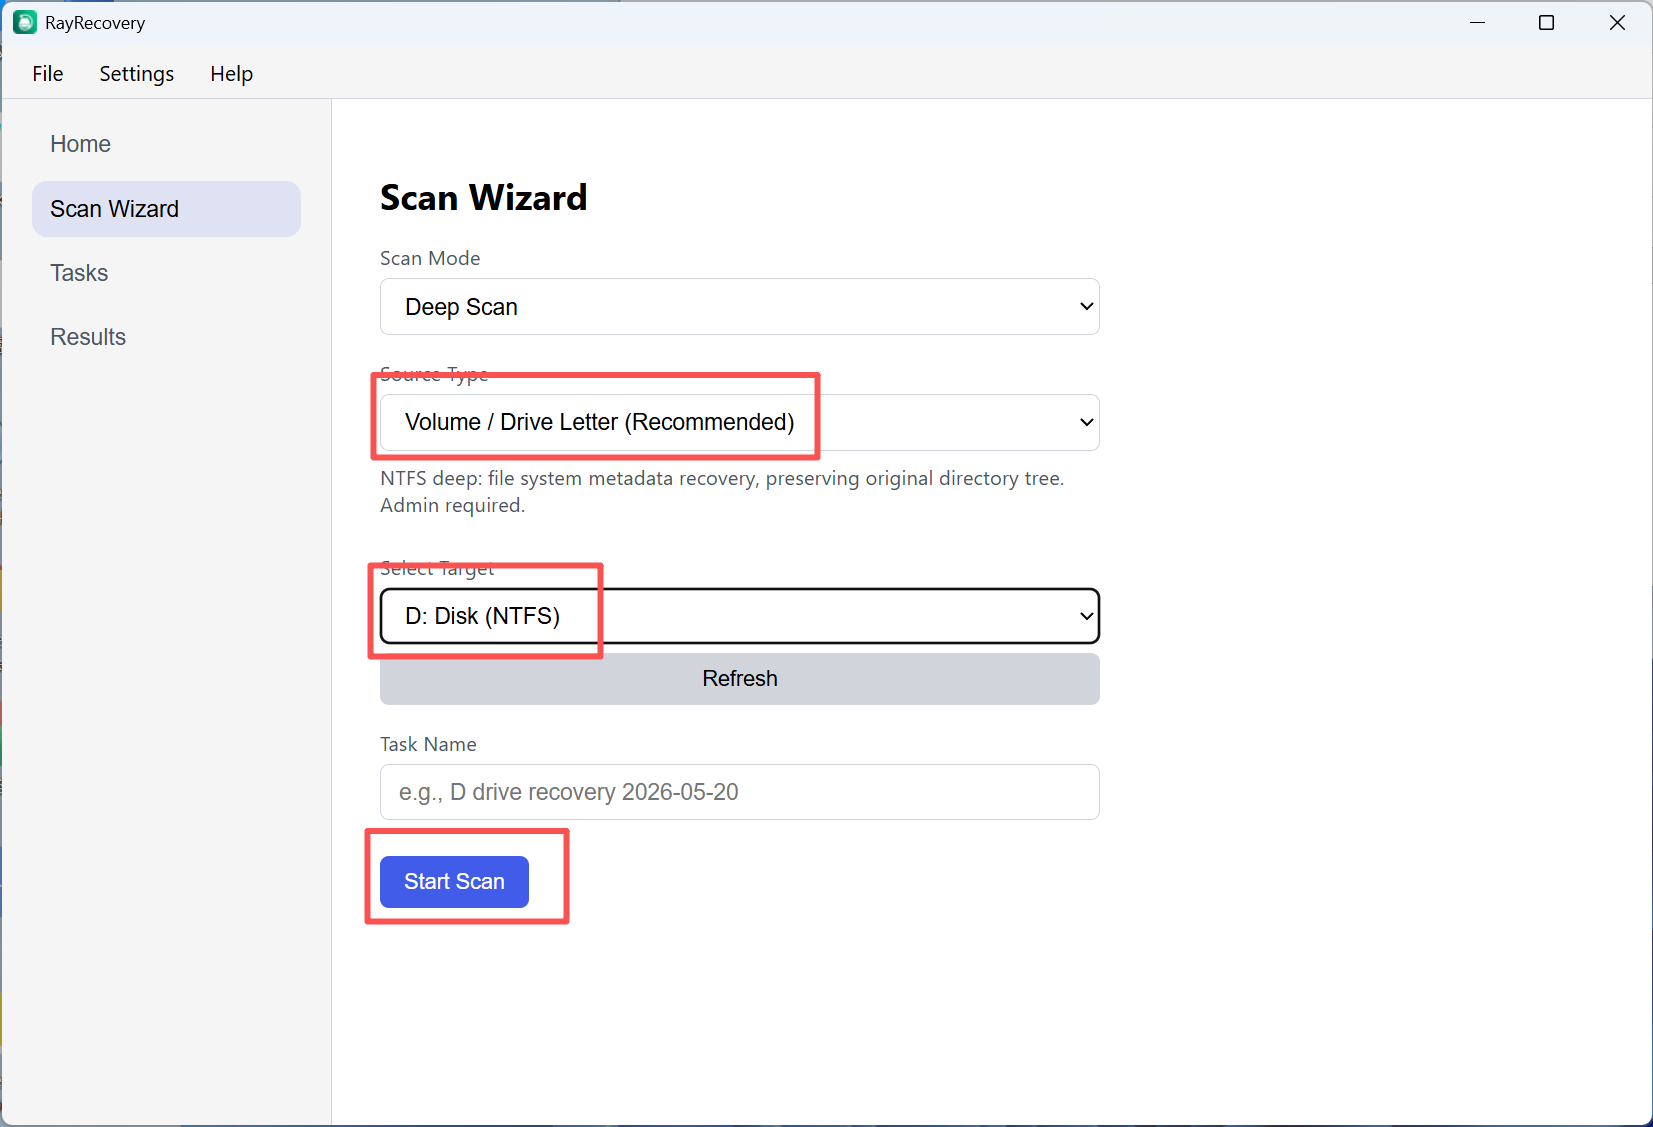
Step 2: In Scan Wizard, set Scan Mode to Deep Scan if it is not already selected. Set Source Type to Volume / Drive Letter (Recommended), choose the target drive under Select Target (for example D: Disk (NTFS)), then click Start Scan. You can click Refresh if the drive list is empty or outdated.
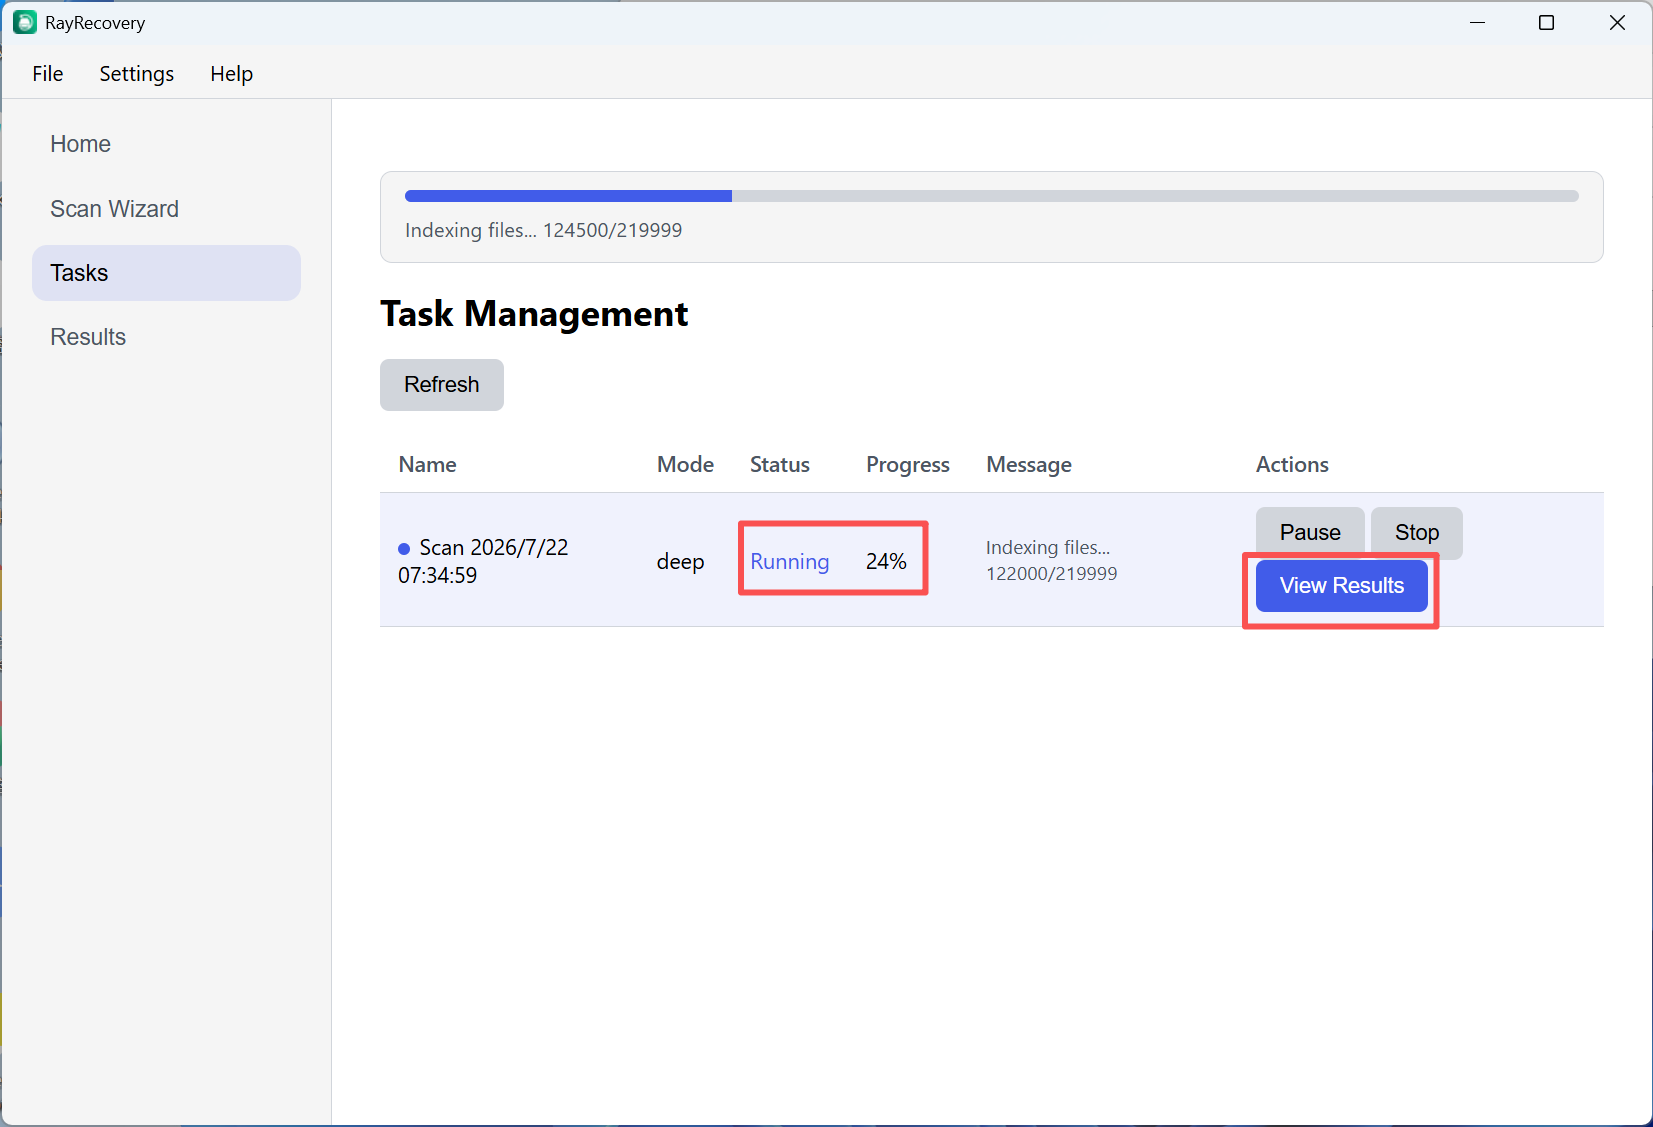
Step 3: Open Tasks to watch progress. Status shows Running with a percentage while the scan indexes files. When the scan finishes (or while results are available), click View Results.
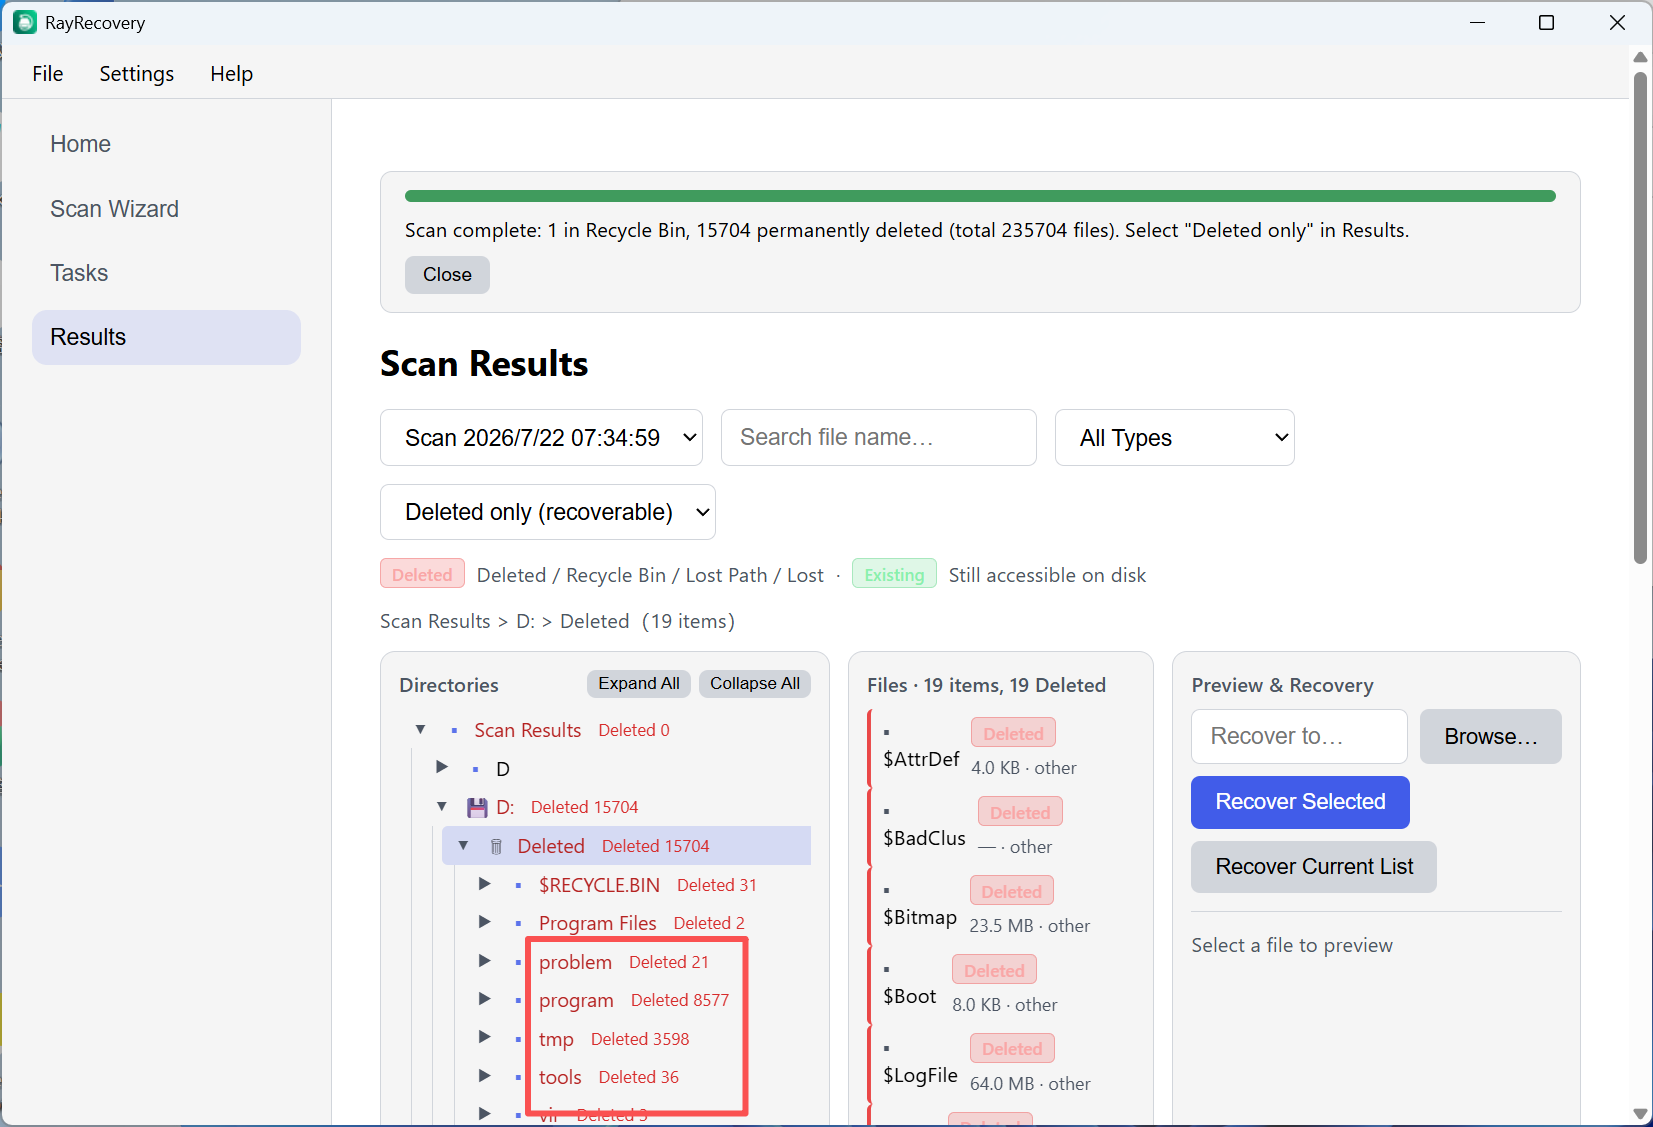
Step 4: In Results, set the filter to Deleted only (recoverable). Browse folders marked Deleted in the directory tree, select the files you need, choose a recovery path with Browse… (use a different drive when possible), then click Recover Selected.
Tip: Do not recover files back onto the same drive you are scanning — that can overwrite data that Deep Scan is still trying to find.